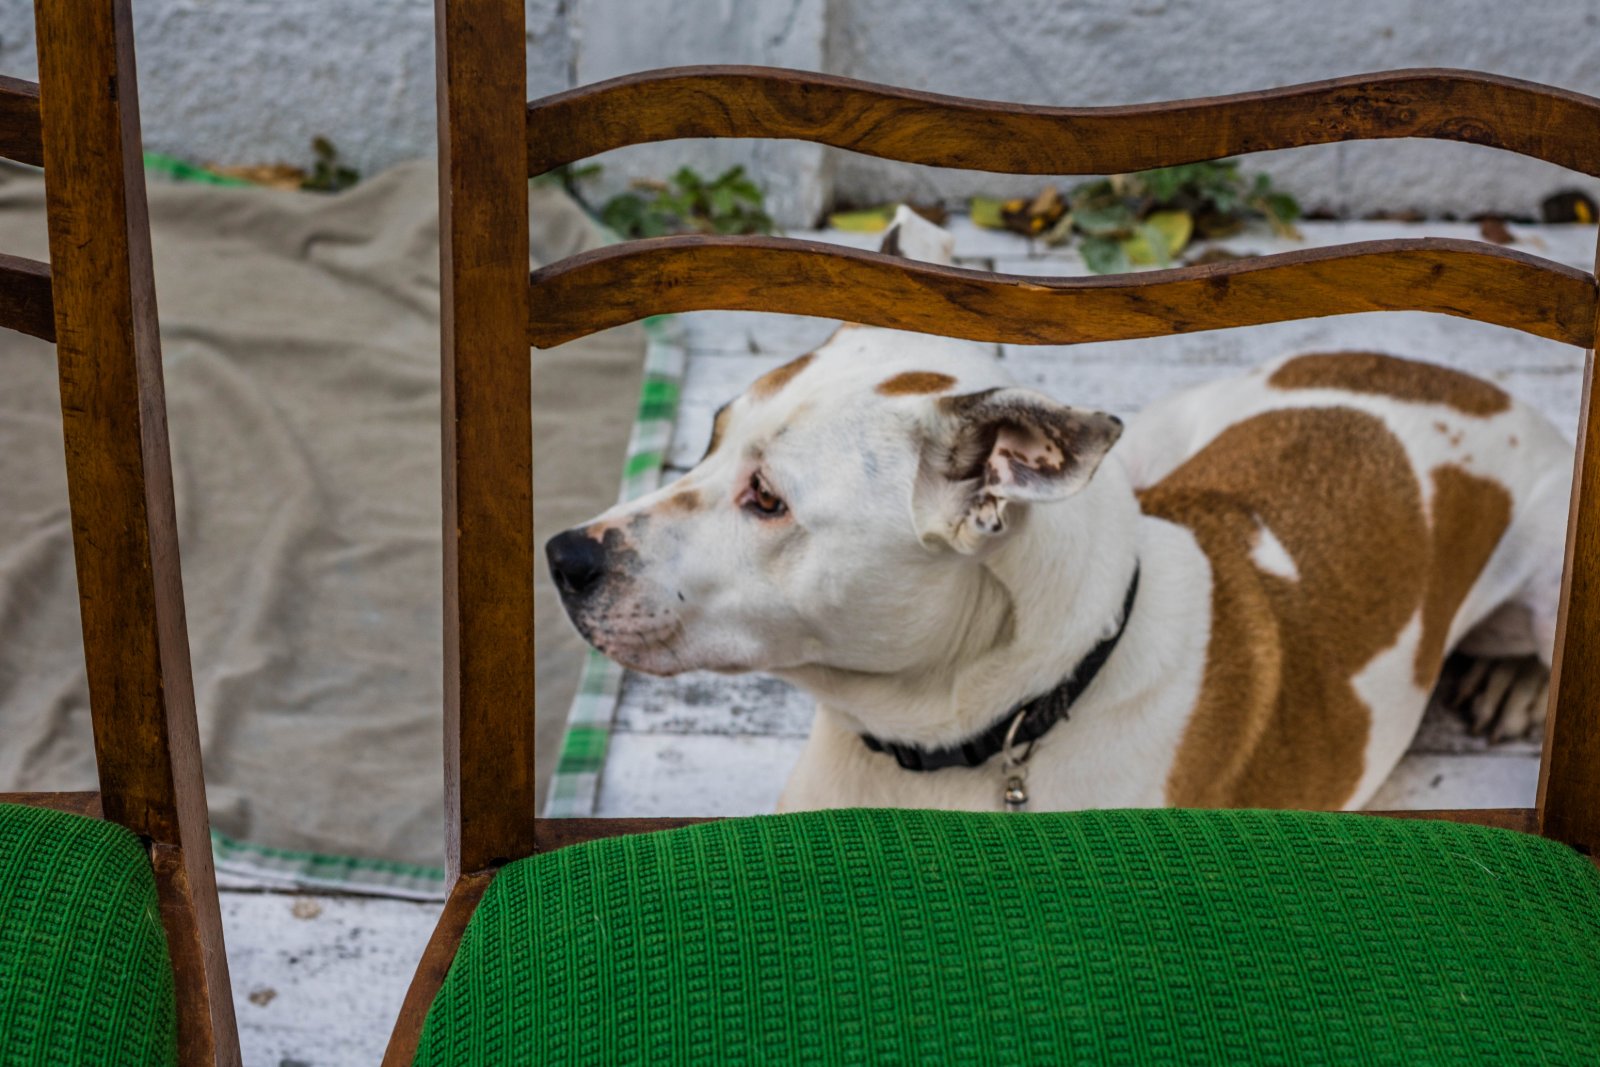

A workable DIY dog ramp for bed is long enough for a gentle climb, wide enough for a normal stride, and grippy enough that paws do not skate. For most dogs that means a slope of about 18 to 25 degrees, a walking surface at least as wide as the dog’s stance plus a few inches, and a top that cannot kick away from the mattress. A short board leaned against the frame usually fails all three tests.
Jumping onto a bed loads shoulders, elbows, hips, and the spine in one impact. A ramp spreads that load into a walk. The tradeoff is floor space: a 24-inch bed at a comfortable 20-degree slope needs roughly 70 inches of ramp, not the 36-inch board many people cut first.
Measure the real rise, not the frame
Measure from the floor to the top of the mattress with the usual bedding and topper in place. A 3-inch topper changes the angle. Measure at the spot where the ramp will meet the bed, because some frames sit lower at the foot than at the side.
Also note three things before you buy lumber:
- Dog weight and build. A 15-pound terrier and a 70-pound Lab need different width and stiffness.
- Mobility. Senior dogs, dogs with arthritis, and dogs recovering from cruciate or back problems do better at the shallow end of the range.
- Clear floor. A proper ramp for a tall bed can stick 6 to 8 feet into the room unless you run it along the side of the bed.
How long the ramp needs to be
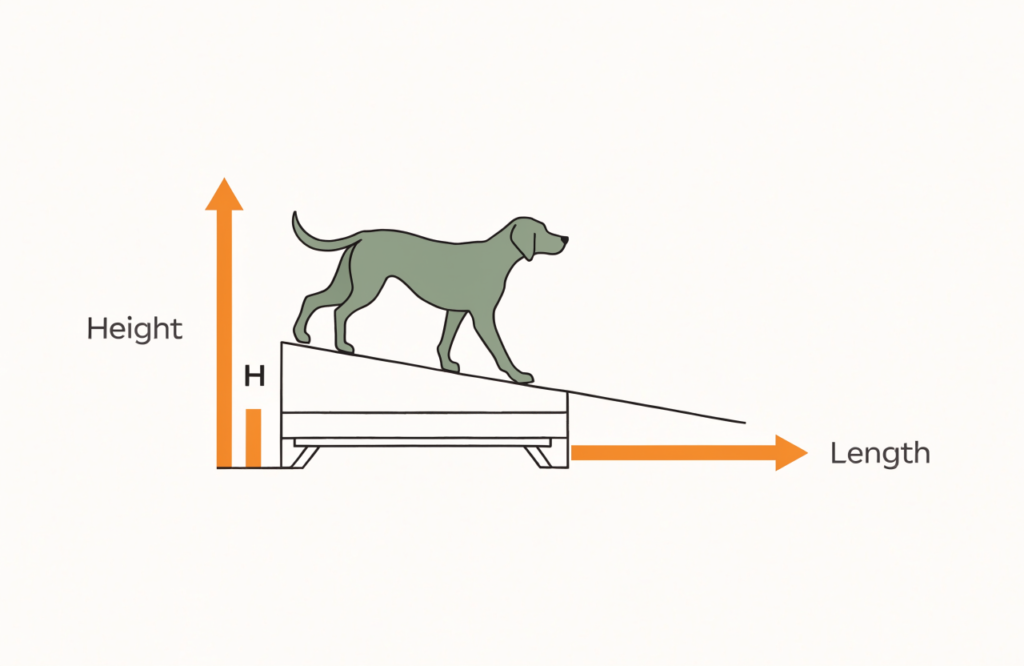
Angle is set by geometry: steeper means shorter, and shorter is harder on the front end on the way down. Guides aimed at senior and joint-sensitive dogs commonly put the useful range at about 18 to 25 degrees, with the lower end for weak, small, or painful dogs. Many older dogs hesitate or scramble once the slope pushes past roughly 26 to 30 degrees.
Ramp length along the walking surface is approximately bed height divided by the sine of the target angle. Practical lengths look like this:
| Bed height (floor to mattress top) | About 18° | About 20° | About 25° |
|---|---|---|---|
| 18 in | 58 in | 53 in | 43 in |
| 22 in | 71 in | 64 in | 52 in |
| 24 in | 78 in | 70 in | 57 in |
| 28 in | 91 in | 82 in | 66 in |
| 32 in | 104 in | 94 in | 76 in |
If the room cannot take that length, a steeper ramp is not a free fix. Options that still protect joints are a lower bed, a ramp that runs along the side of the bed instead of straight out, or a short set of broad steps with a full paw on each tread. Steps take less floor space but still involve a small hop, so they suit dogs that can lift a leg cleanly and should not be the first choice after back or cruciate surgery.
Width matters as much as length. About 14 to 16 inches of clear walking surface is enough for many small dogs. Medium and large dogs are more confident at 18 to 24 inches, close to a normal walking stance. Side rails of 3 to 6 inches stop a nervous dog from stepping off the edge. They are especially useful for long-backed breeds and dogs that drift sideways when tired.
Pick a layout that matches the room
Three layouts cover most bedrooms.
A straight fixed ramp is the simplest. Two side rails, cross supports, and a plywood deck. It stays put and is easy to make stiff. It also occupies floor space whenever it is out.
A folding ramp stores under the bed. Hinges and a leg that locks open add failure points. The legs need bracing so the frame cannot rack sideways, and the hinge line should not sit where the dog’s weight lands mid-stride. Folding is worth it only if you will actually put the ramp away.
A side-running ramp follows the foot or side of the bed and turns onto a small landing. It uses less open floor and gives the dog a flat place to pause before stepping onto the mattress. It takes more cutting and a bit more material.
For a first build, the straight fixed ramp is the one most people finish and the one dogs learn fastest.
Materials that stay stiff and grippy
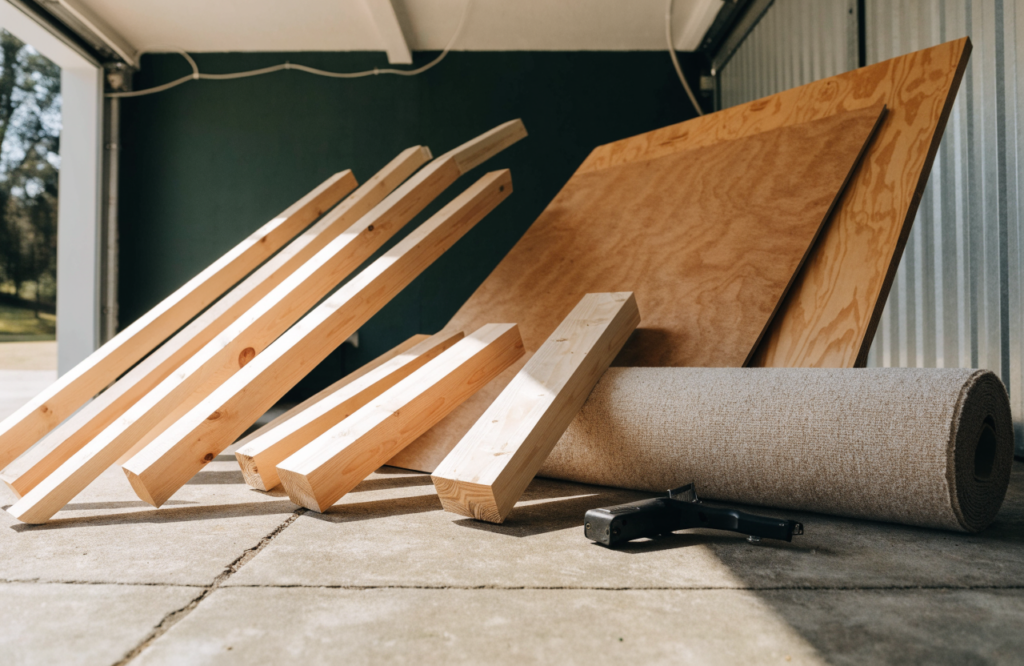
For an indoor ramp used by a dog under about 80 pounds, 1×4 or 2×4 pine side rails with crosspieces every 12 inches are usually enough. Heavier dogs, or a deck wider than 18 inches, are better on 2×4 rails and 3/4-inch plywood. Half-inch plywood can work on a narrow ramp with close supports, but it flexes, and flex makes some dogs freeze.
Use screws, not nails alone, and pre-drill near ends so the wood does not split. Glue on the joints adds stiffness. Avoid relying on screws driven only into end grain; they pull out. Pocket holes, corner blocks, or a cleat under the joint hold better.
Traction is the part that decides whether the dog uses the ramp.
- Low-pile indoor-outdoor carpet or a carpet remnant works indoors and feels familiar. It holds hair and odor and can snag long nails.
- Ribbed rubber matting or a thin rubber shelf liner grips even if paws are damp and wipes clean. Secure it with contact cement or screws and washers at the edges so it cannot bunch.
- Non-slip tape adds grip quickly but can feel harsh on sensitive pads if the grit is coarse.
Bare painted plywood is too slick once the finish fills the grain. Sand the surface and cover it.
Build a basic bed ramp
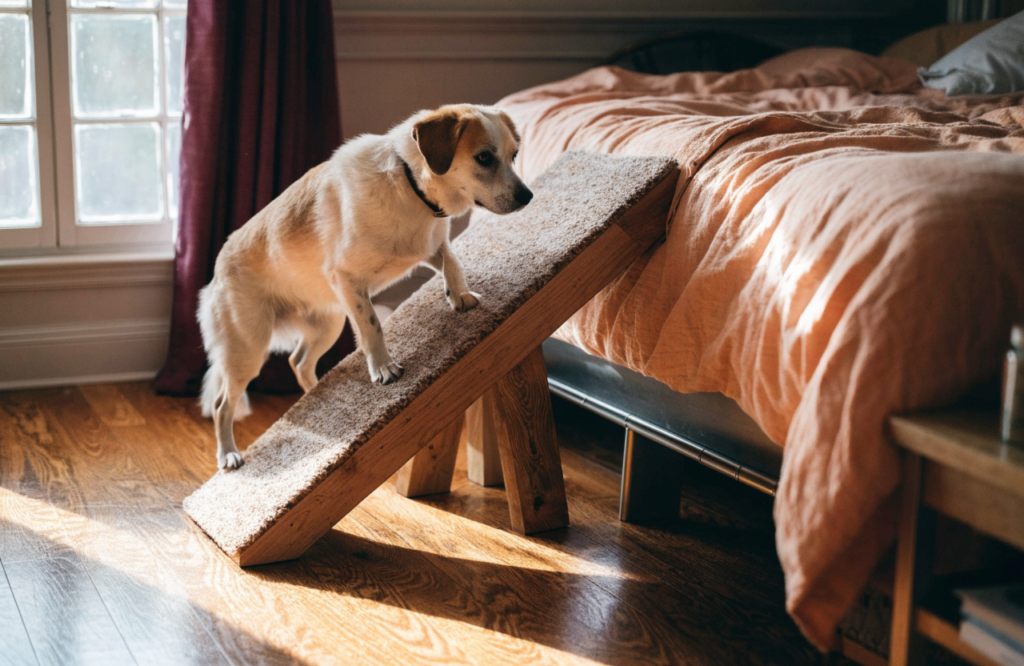
This method fits a single dog and a measured bed height. Adjust length from the table above. Example dimensions below assume a 24-inch rise and a target near 20 degrees: about 70 inches of deck, 16 inches of clear width.
- Cut two side rails to the ramp length. Rip or mark the top edge so the deck sits flat. The bottom end rests on the floor; the top end meets the mattress height. A small bevel on the floor end keeps the rail from rocking.
- Cut cross supports from the same stock, short enough that the finished walking width is about 16 inches inside the rails, or wider if the dog is large. Space them about 12 inches apart.
- Assemble the frame on a flat floor. Glue and screw each crosspiece with two screws per end. Check that the frame is square before the glue sets.
- Cut 1/2-inch or 3/4-inch plywood to the frame. Screw it down every 6 to 8 inches along the rails and into each crosspiece. Countersink so screw heads sit below the surface.
- Sand edges and any splinters. Round the floor end slightly so it does not catch toes or rug edges.
- Glue or screw the traction layer on, wrapping the edges or fastening them so a claw cannot peel a corner.
- Add low side lips if the dog is small or unsteady: a 1×2 or 1×3 screwed along each edge, proud of the walking surface by 2 to 4 inches, is enough to guide paws without becoming a hurdle.
Test the ramp with your own weight before the dog uses it. Stand in the middle. If the deck bows more than a slight give, add a center rail or switch to thicker plywood.
Stop the top from kicking out
Most failed homemade ramps slide away from the bed on the first descent. The dog’s weight pushes the top outward.
Simple fixes, in order of how well they work:
- A lip or cleat that hooks under the mattress or box spring, so the ramp cannot walk forward.
- A short strap or rope from the top rail to the bed frame.
- Non-slip pads under the floor end, plus a rubber strip where the ramp touches the frame.
- A small flat landing at mattress height, so the last step is level and the ramp is less likely to lever away.
Do not lean an unsecured board against a slick metal frame and call it done. One backward push is enough to drop the top.
Teach the dog to use it
A correct ramp can still sit unused. Dogs that have been lifted for months often do not connect the board with the bed.
Keep sessions short. Put the ramp in its final spot. Use a leash and a high-value treat at the top, not a push from behind. Reward one or two steps, then the full climb, then the turn onto the mattress. Practice the way down the same way. Coming down is often the scary part, because the dog is facing the slope.
If the dog balks, check the angle and the surface before you assume stubbornness. A ramp that flexes, slides, or feels steep will teach the dog to avoid it. Some dogs need a temporary runner of the same carpet from the floor onto the ramp so the texture does not change at the first step.
Mistakes that make dogs refuse the ramp
- Cutting for the lumber you have instead of the slope you need. A 4-foot ramp to a 28-inch bed is a climb, not a walk.
- Skipping traction. Paint and bare plywood look finished and feel unsafe under a claw.
- Building narrow. A 10-inch deck forces a single-file shuffle and invites a side step into open air.
- Leaving the deck springy. Flex reads as unstable, especially to an older dog.
- No way to lock the top. The ramp moves once, and the dog will not try again.
- Forcing the first trip. One bad slide can undo a week of careful introductions.
Weight capacity should sit well above the dog. A ramp that holds you in the center will hold a typical pet, provided the joints are screwed and glued and the supports are close enough that the plywood does not span more than about 12 to 16 inches.
Frequently asked questions
Is a carpeted board from the hardware store enough? Only if the length matches the table, the board does not flex, and the top cannot slide. A 36-inch board against a normal bed is usually too steep.
Ramp or pet stairs? Use a ramp when the dog should avoid impact, including many seniors and dogs with back or knee issues. Use broad, low stairs when floor space is tight and the dog still steps cleanly. Stairs take less room and are easier to store. They are not the same as a zero-impact walk.
How wide should side rails be? High enough to catch a drifting paw, usually 3 to 6 inches above the walking surface. Very tall rails can make a small dog feel boxed in. A low lip plus a wider deck is often better than tall fences.
Can the same ramp work for the couch? Only if you can change the height or you built it for the higher of the two rises. A ramp sized for a 24-inch bed is too long and too shallow to sit neatly against an 18-inch sofa unless it is adjustable.
What if the bedroom cannot fit a 6-foot ramp? Lower the bed, run the ramp along the side toward a corner, or accept a slightly steeper angle only for a dog that is still strong. For a painful or post-surgery dog, space is the constraint to solve, not the slope.