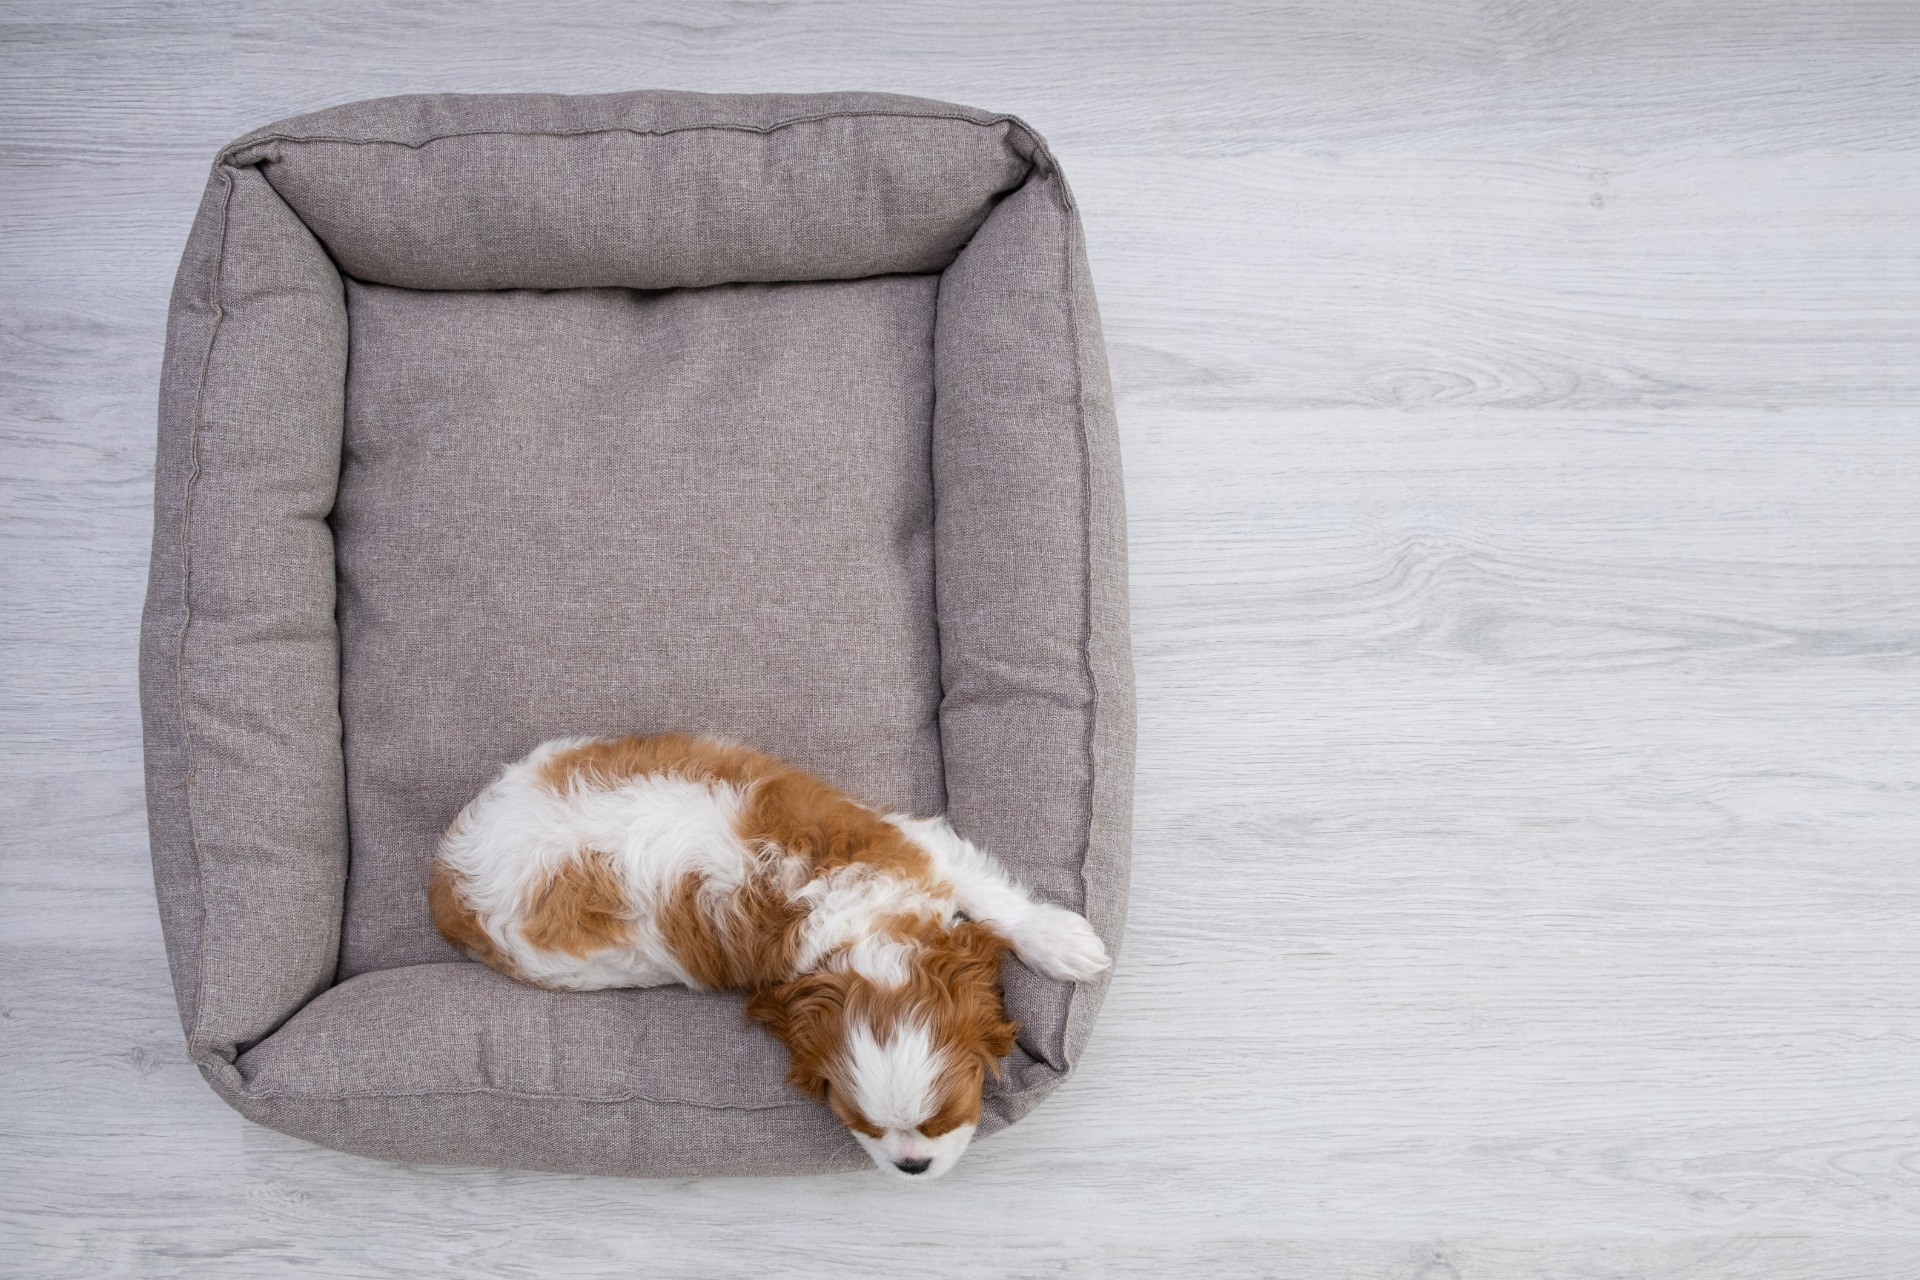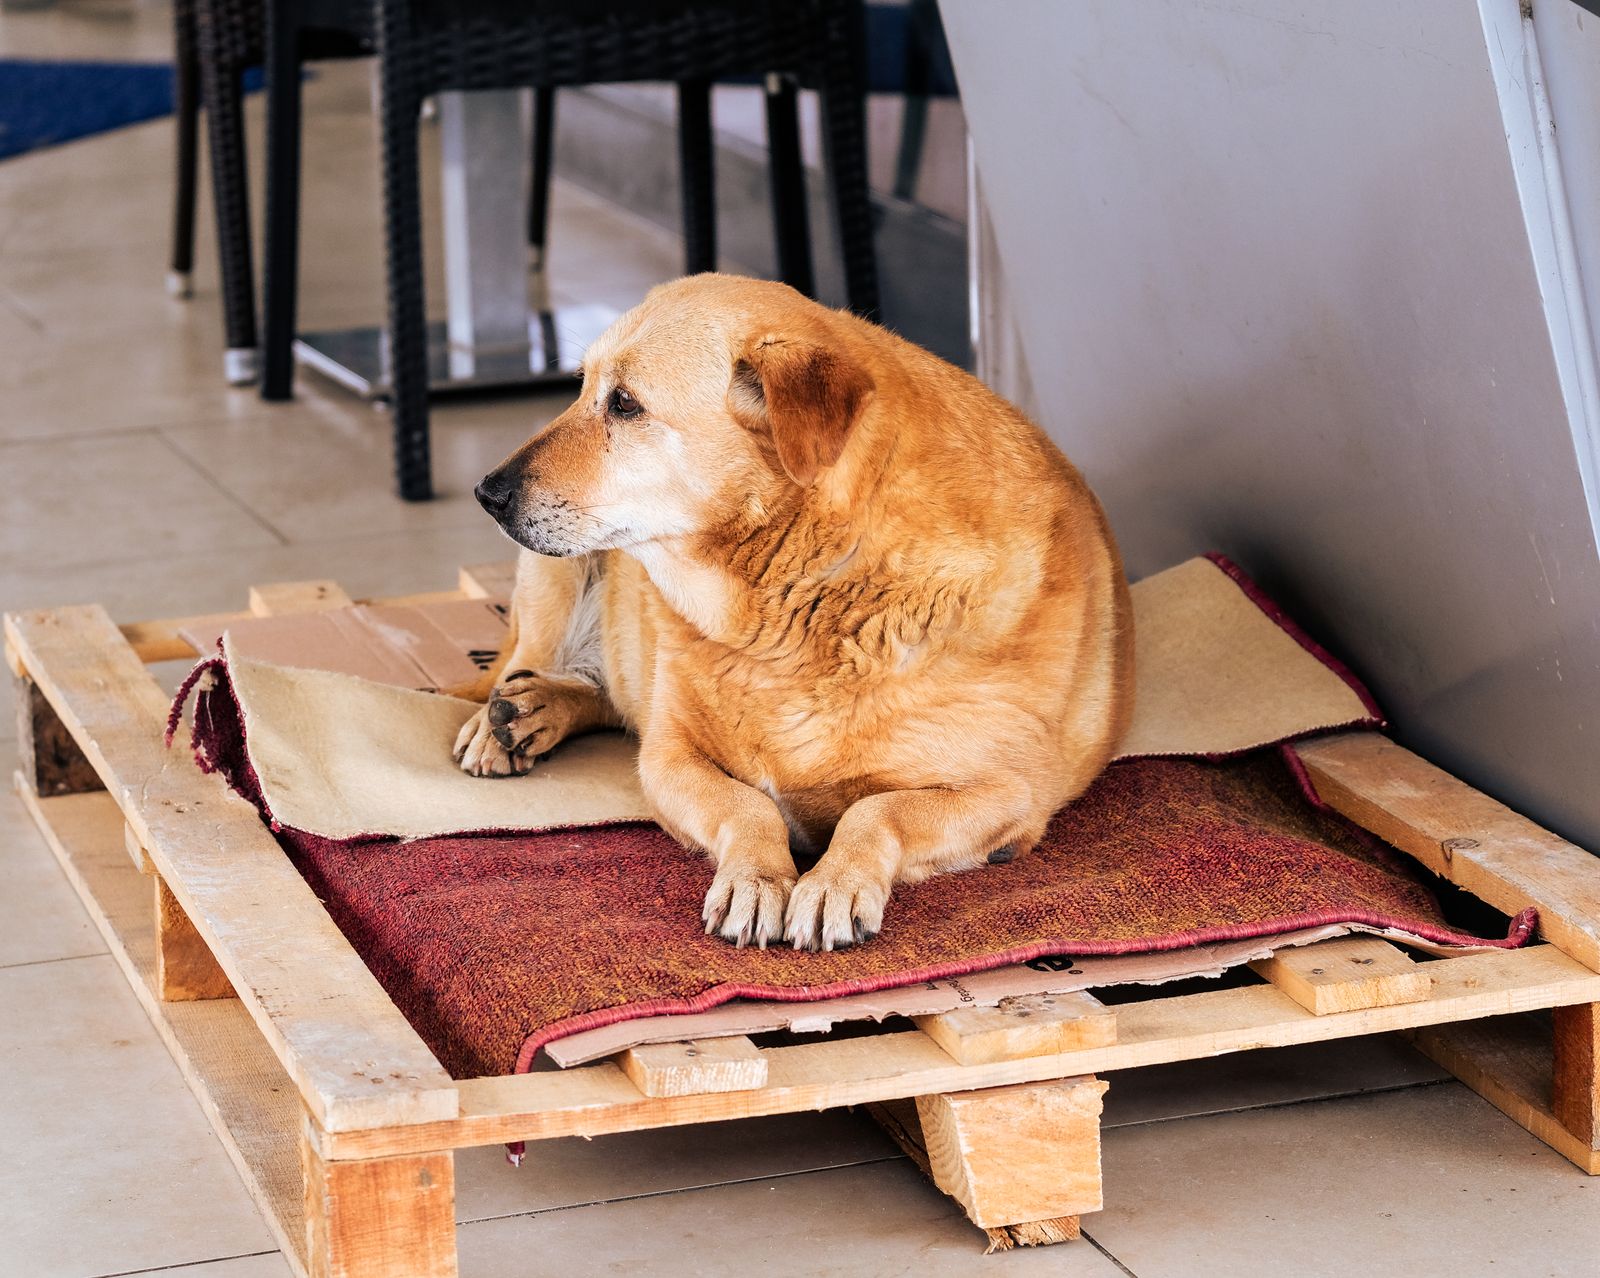

A wooden dog bed is a frame, not the mattress. The useful build is a low box or platform sized to the dog’s stretched-out body, with a washable cushion dropped inside and every edge sanded smooth. Most failed DIY beds are not weak joinery. They are too short, too tall at the front, or finished before the dog has a reason to use them.
Store frames cost more because the wood, the cushion, and the look are sold together. Building the frame yourself mainly pays off when you need an odd size, a lower front for an older dog, or a piece that matches the room. The cushion still does the sleeping work. A thin pad on bare slats will not feel better than the floor.
Measure the dog, not a breed chart

Breed labels are a rough starting point. Curlers and sprawlers of the same weight need different floor area. The measurement that matters is the inside of the frame, after the side boards take up space.
Have the dog lie on its side, fully stretched. Measure from the tip of the nose to the base of the tail, not the end of the tail. Add 6 to 12 inches. That is the minimum inside length. Dogs that sleep on their backs with legs out need the higher end of that range. Then measure from the backbone to the front paws in that same side-lying position and add 6 to 12 inches for inside width.
Entry height is the other number people skip. Side walls should be high enough to keep the cushion from sliding out, usually a few inches above the top of the mattress. The front rail should be low enough that the dog can step in rather than jump. For a senior or a dog with stiff hips, keep the sleeping surface close to the floor and leave one side open or only a couple of inches high.
| Dog habit | Inside length | Inside width | Front entry |
|---|---|---|---|
| Small curler, under about 25 lb | Nose-to-tail base, or a little less if the dog always curls | Shoulder width plus a few inches | Low rail or open front |
| Medium sprawler | Nose-to-tail base plus 8–12 in | Side-lying width plus 8–12 in | Rail below mattress height |
| Large or heavy dog | Nose-to-tail base plus 10–12 in | Side-lying width plus 10–12 in | Low entry, extra floor supports |
| Senior or arthritic | Size up, not down | Extra room to shift | Near floor level; avoid a tall lip |
Weight charts are only a backup when you cannot measure the dog. A stocky dog and a long-backed dog of the same weight will not fit the same rectangle.
Pick the frame style before you buy lumber
Three layouts cover almost every indoor wooden dog bed DIY:
- Box with a lower front. Two sides and a back from 1×6 or 1×8 boards, a shorter front rail, and a slat or plywood floor. This is the best default. The walls hold the cushion; the low front is the door.
- Open platform. A rectangular frame on short legs with slats and no walls. Easier to build and easier to clean, but the cushion walks unless you add a lip or non-slip pad.
- Raised cot-style frame. Useful when the floor is cold or drafty, because air can move underneath. Keep the top under about 6 to 8 inches for dogs that should not jump. A raised bed is a poor choice for a dog that already struggles with stairs.
Decorative X-bracing and shiplap sides are optional. They do not make the bed more comfortable. Add them only after the inside size and the entry are right.
Wood and hardware that belong indoors
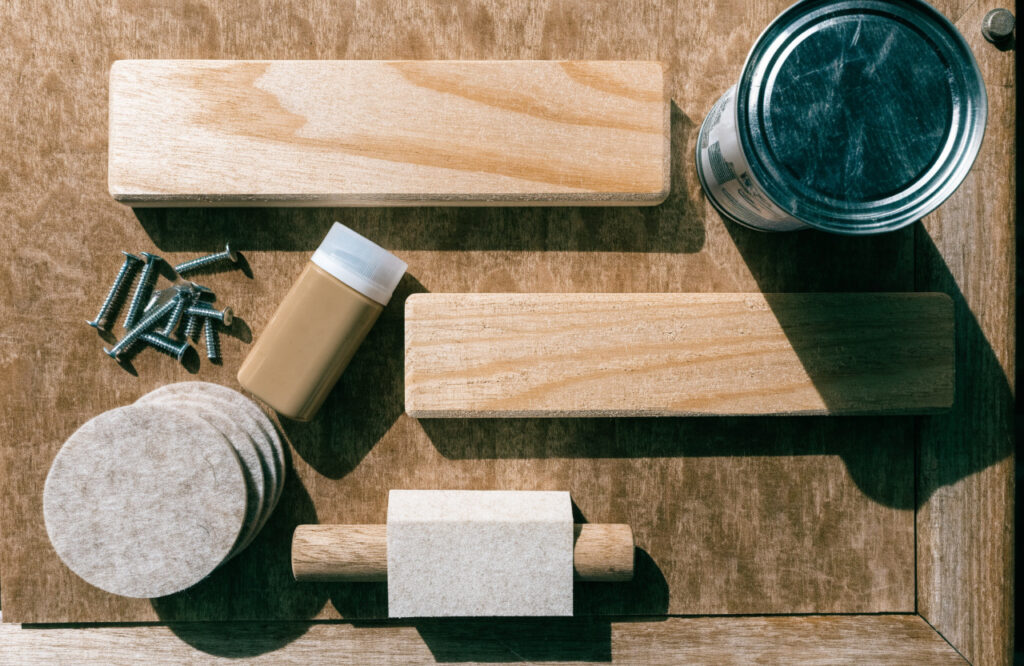
Kiln-dried pine or poplar is the practical choice for a first bed. It is light, cheap, and easy to cut. It dents if a large dog launches into it every day, so a heavier dog is better served by oak, maple, or another hardwood for the rails and legs. Plywood of about 1/2 to 3/4 inch works for a solid floor if the edges are supported and the face is sanded. Avoid particleboard and MDF on the floor of the bed. They swell if a water bowl tips or the cushion is washed and put back damp.
Do not use pressure-treated lumber. The treatment is meant for outdoor ground contact, not for a surface a dog may lick or chew. Pallet wood is only reasonable if the block is stamped HT, meaning heat-treated under the shipping standard, and the boards are clean, unstained, and free of nails. Skip anything stamped MB, which indicates methyl bromide fumigation, and skip unmarked pallets. Even an HT pallet needs a full sanding. Shipping wood is rough, and hidden fasteners are common.
Nominal lumber is smaller than the name. A 1×6 is about 3/4 inch thick and 5 1/2 inches wide. A 2×2 is closer to 1 1/2 inches square. Write the cut list from the inside dimensions, then add the thickness of the side boards so the outside of the bed is larger than the sleeping area.
Useful hardware:
- Wood glue plus screws, not nails alone. Glue carries the joint; screws clamp it.
- Pilot holes so pine does not split.
- Countersunk or pocket-hole screws so nothing sticks into the cushion or a paw.
- Felt pads or a non-slip mat under the feet if the bed sits on hard flooring.
A workable cut list for a medium box
These numbers are an example for a dog that needs about 36 inches by 24 inches of inside space, with sides around 5 1/2 inches high and a front rail around 3 1/2 inches. Change every length to match your measurements.
- Two side boards: 1×6 at 36 inches
- One back board: 1×6 at 25 1/2 inches (24 inches plus two board thicknesses if the sides overlap the back)
- One front rail: 1×4 at the same length as the back
- Four legs: 2×2 at about 7 inches, so the bed sits a couple of inches off the floor once the floor boards are on
- Floor slats: 1×3 or 1×4 boards spanning the width, spaced about 2 to 3 inches apart, or one plywood panel cut to the inside opening
- One center support under the slats if the span is over about 24 inches or the dog is heavy
Tools that are enough: tape measure, square, saw, drill, driver, clamps, and sandpaper from 80 grit up to 150 or 220. A pocket-hole jig makes the corners cleaner. Butt joints with glue and screws also work if the corners are square and the screws have enough wood to bite.
Build sequence that avoids a twisted frame
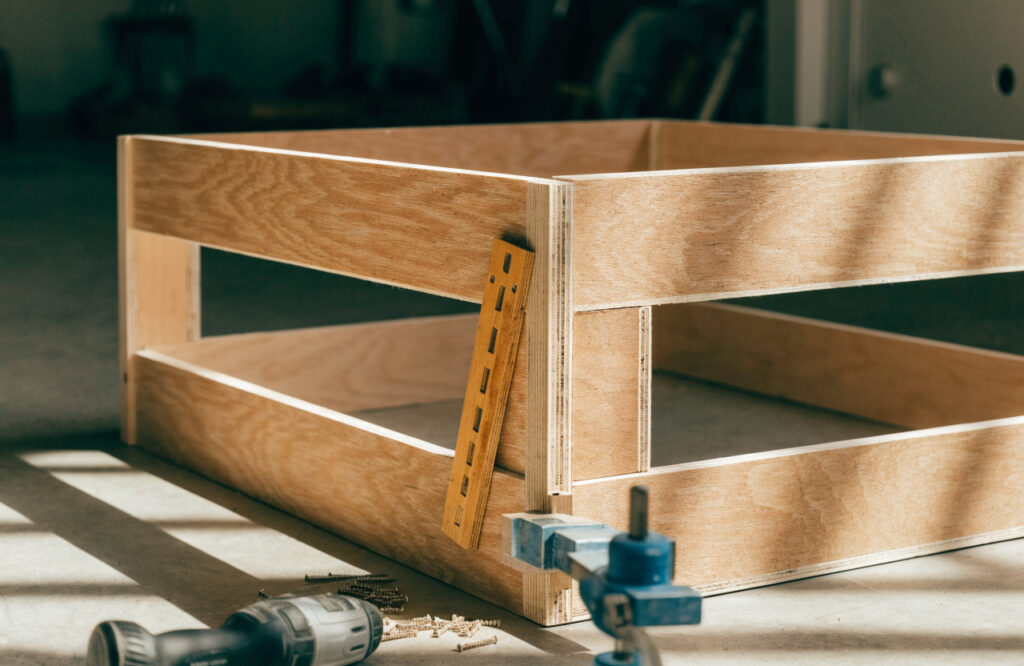
- Cut the side, back, and front boards. Check that matching pieces are the same length. A square corner is more important than a perfect decorative edge.
- Dry-fit the rectangle on a flat floor. The inside should match the sleeping size you measured. If it does not, recut before glue.
- Glue and screw the back and sides. Pilot-drill. Keep the top edges flush. Clamp until the glue grabs, then add screws.
- Add the lower front rail. Leave the top of this rail below the top of the mattress you plan to use, or the dog will have to hop.
- Attach the legs inside the corners, or outside if you want a slightly wider stance. Legs are optional. A bed that sits flat on the floor is better for a dog that cannot step up.
- Install the floor. Slat gaps of a couple of inches let hair fall through and air move. A solid panel is easier to wipe but should still have a small gap at the edges so a spill does not pool. Add a center rail under long spans so the floor does not bounce.
- Sand every edge a paw or tongue can reach, including the underside of the front rail. Stop at a surface that feels smooth, not polished. Fill screw holes only if they will show.
- Check for racking. Push a corner. If the frame shifts into a parallelogram, add a corner block or a screw into a leg.
A careful first build usually takes an afternoon once the boards are cut. Drying time for glue and finish adds calendar days, not shop time.
Finish only what the dog will touch, and wait
Bare, well-sanded wood is acceptable indoors if you accept stains. A finish keeps spills from soaking in. Water-based polyurethane is the usual indoor choice because it dries clear and has lower odor than oil-based varnish. Hard film finishes are widely treated as safe for incidental contact once fully cured, but “dry to the touch” is not cured. Follow the can. Many water-based products need days, and some oil-based films are still curing for weeks. If the bed still smells, the dog should not be on it.
Pure tung oil or a food-contact mineral oil and wax will not form a hard shell. They are easier to refresh and less of a film to chew, but they protect less against urine or a tipped water bowl. Skip boiled linseed oil products that list metal driers if the dog is a chewer. Skip oil-based stain until you know the product is meant to be top-coated and fully cured. Aromatic cedar smells pleasant to people and unpleasant to some dogs. If you use cedar, make it a small trim piece, not the whole interior.
None of this stops a determined chewer. The practical barrier is a removable, washable cover over a dense foam or orthopedic pad. The wood frame should not be the chew toy. If the dog already destroys bed rails, a wooden frame may be the wrong project.
Mistakes that make the bed unused
- Sizing to the cushion you already own. Buy or cut the cushion to the inside of the frame, or build the frame to a cushion you have measured. A pad that is an inch too wide will buckle. A pad that is short will slide.
- A tall front “for a finished look.” Dogs step into beds. A 6-inch wall on all four sides turns the bed into a hurdle.
- No grip on hard floors. Felt pads stop scratches. A rubber pad under the legs stops the bed from skating when the dog jumps in.
- Exposed screw tips and unsanded pallet edges. These are the injuries, not the stain color.
- A solid floor with no lip and no cover. Hair packs into the corners and the cushion migrates. A lip of even 1 inch, plus a non-slip mat under the pad, fixes both.
- Outdoor use of an indoor finish. Standard pine and indoor polyurethane are not a porch bed. Rain, sun, and chewing change the material choice. That is a different project.
Pallet beds and raised platforms, only with limits
A single HT pallet can become a raised platform if you sand it, set it on low feet, and add a covered mattress. It is a poor box bed. Pallet openings are irregular, nail holes are common, and the height is often too tall for an older dog. Two stacked pallets are almost always too high.
A raised slat bed helps a thick-coated dog on a warm floor and keeps bedding off a cold tile. It does not replace joint support. The cushion thickness still has to keep elbows and hips off the slats. If you can feel wood when you press the center of the pad, the pad is too thin for that dog.
Frequently asked questions
How high should the sides be? High enough to stop the cushion from sliding, and low enough at the front for a step. For many indoor beds that means side walls a few inches above the mattress and a front rail at or below mattress height.
Can I paint it? Yes, with a cured interior paint or a water-based topcoat, after sanding. Keep the dog off it until the odor is gone. Paint does not fix sharp edges.
What cushion should go inside? A dense foam or orthopedic pad in a washable cover, cut to the inside dimensions. Bolster cushions work if the front bolster is low or removable. Memory foam that bottoms out in the center is too soft for a heavy dog, no matter how the frame looks.
Is a wooden bed better than a fabric bed? It is more stable and harder for a mild chewer to destroy. It is worse if the dog needs to burrow, if you need to wash the whole bed weekly, or if the dog cannot step over a rail. The frame is furniture. The pad is the bed.